Brands you can shop

Featured collection
-
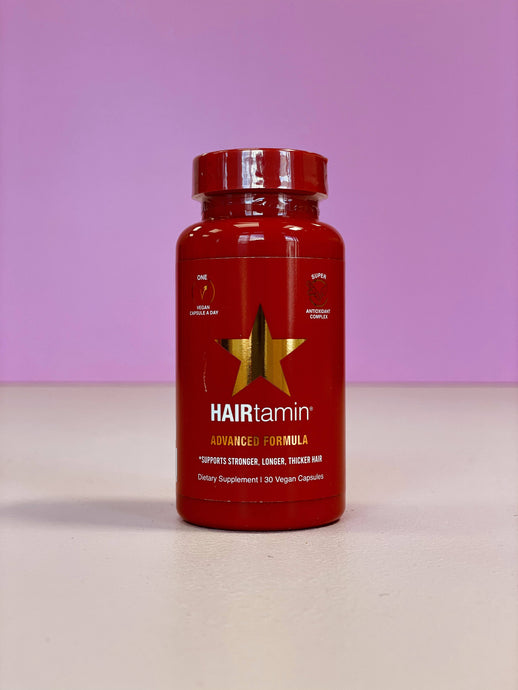
HAIRtamin - advanced formula
![HAIRtamin - Advanced formula - Hair vitamin front]()
- Vendor
- Skin Hair Nails Nutrients
- Regular price
-
£21.95 - Sale price
- £19.90
- Unit price
- per
-
HAIRtamin - GUMMY STARS
![HAIRtamin - GUMMY STARS - Hair vitamin front]()

- Vendor
- Skin Hair Nails Nutrients
- Regular price
-
£24.95 - Sale price
- £23.90
- Unit price
- per
-
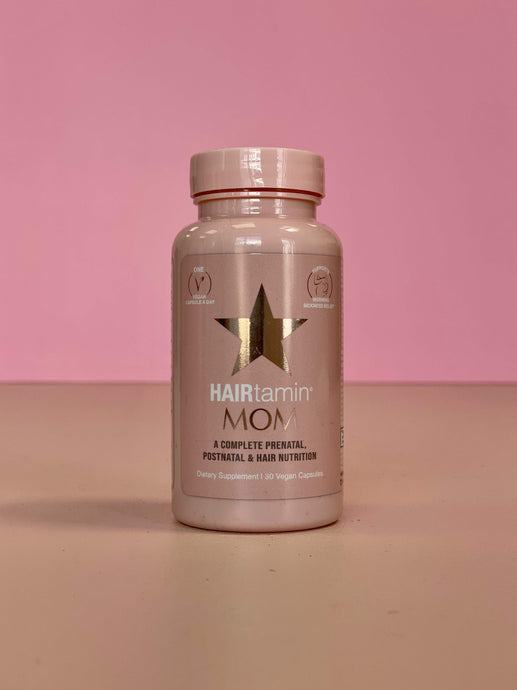
HAIRtamin MOM
![HAIRtamin - MOM front]()
- Vendor
- Skin Hair Nails Nutrients
- Regular price
-
£23.95
Sold out - Sale price
- £22.90
- Unit price
- per
-
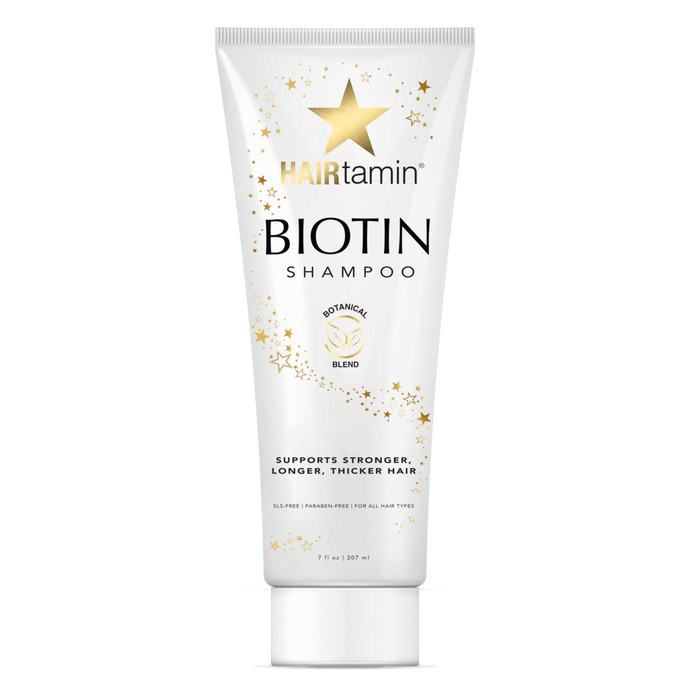
HAIRtamin BIOTIN SHAMPOO
![HAIRtamin BIOTIN SHAMPOO]()
- Vendor
- Skin Hair Nails Nutrients
- Regular price
-
£16.90 - Sale price
- £15.90
- Unit price
- per
-
Perfectil MAX
![Perfectil Vitabiotics MAX]()
- Vendor
- Skin Hair Nails Nutrients
- Regular price
-
£23.00 - Sale price
- £16.90
- Unit price
- per
-
SugarBearHair - Hair Vitamins
![SugarBearHair - Hair Vitamins - vegetarian gummies]()
- Vendor
- Skin Hair Nails Nutrients
- Regular price
-
£40.00 - Sale price
- £38.99
- Unit price
- per
-
Perfectil HAIR
![Perfectil Vitabiotics Hair]()
- Vendor
- Skin Hair Nails Nutrients
- Regular price
-
£18.99
Sold out - Sale price
- £11.90
- Unit price
- per
-
IMEDEEN Prime Renewal
![Imedeen Prime Renewal]()
- Vendor
- Skin Hair Nails Nutrients
- Regular price
-
£62.00 - Sale price
- £58.99
- Unit price
- per
-
IMEDEEN Hair and Nails
![Imedeen Hair and Nail]()
- Vendor
- Skin Hair Nails Nutrients
- Regular price
-
£25.99
Sold out - Sale price
- £14.90
- Unit price
- per
-
COLLAGEN SUPERDOSE SKIN CARE by GOLD COLLAGEN
![COLLAGEN SUPERDOSE SKINCARE by GOLD COLLAGEN]()
- Vendor
- Skin Hair Nails Nutrients
- Regular price
-
£22.00
Sold out - Sale price
- £21.90
- Unit price
- per
-
HAIRtamin BIOTIN CONDITIONER
![HAIRtamin BIOTIN Conditioner.png]()
- Vendor
- Skin Hair Nails Nutrients
- Regular price
-
£16.90 - Sale price
- £15.90
- Unit price
- per


About us
Who we are and what we do
Let’s face it, there’s nothing quite like having the chance to provide joy to our customers!
We believe in Advanced Nutricosmetics.
We are really close to our consumers. We offer the top nutraceuticals products selection, exciting brands and we are always challenging how people see beauty and nutrition.
We market wonderful products that really make the difference, and add vitality to life for our consumers.
We are constantly working to develop our portfolio of products aiming offering our customers the products with the most advanced research, the finest ingredients, last but not least produced to the highest pharmaceutical standards.
We commit pioneering effective products that work with today’s modern lifestyles. Our selection of products is recognised for stimulating and invigorating the wellbeing, confidence and beauty expectations of users. Healthy, balanced lifestyle is the foundation of our mission.